Introduction: Securing your home begins with installing reliable and effective door locks. Whether you’ve moved into a new house or are upgrading your home security, installing new door locks is a practical and empowering task. This step-by-step guide is designed to help you navigate the process of installing new house door locks, ensuring your home remains a safe and protected haven.
A Guide on How to Install New House Door Locks
Here is a complete guide on how to install new house door locks.
Step 1: Gather Essential Tools and Materials
Before you start the installation process, ensure you have all the necessary tools and materials. Common tools include a screwdriver, a tape measure, a pencil, a chisel, and the new door lockset with accompanying hardware. Refer to the specific lockset’s instructions to ensure you have all the required components.
Step 2: Remove the Existing Lock
If you are replacing an existing lock, begin by removing the old lockset. Unscrew and detach the faceplate, strike plate, and the interior and exterior doorknobs or levers. Ensure the door is open while removing the old lock components. A locksmith in Hoddesdon will guide you on removing the existing door lock.
Step 3: Measure and Mark
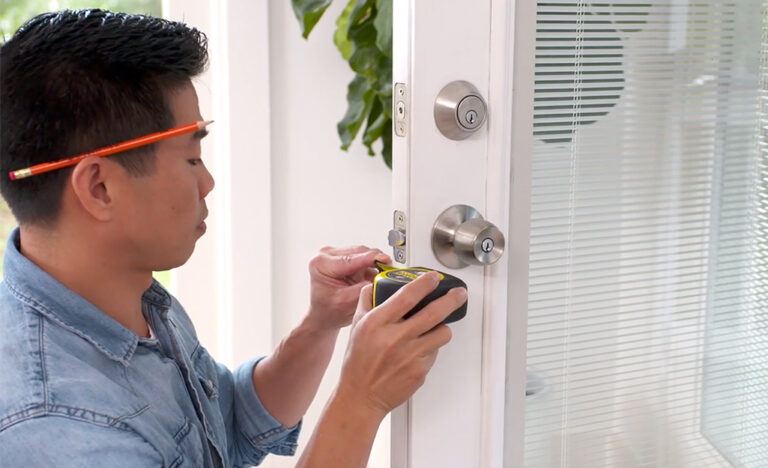
Measure your new lockset’s backset—the distance from the edge of the door to the centre of the borehole. Common backset measurements are 2 3/8 inches or 2 3/4 inches. Mark this distance on the edge of the door using a pencil.
Step 4: Drill the Borehole
With the backset marked, use a hole saw to drill the borehole for the lockset. Choose a drill bit size that matches the specifications provided by the lockset’s instructions. Keep the drill level to ensure a clean and precise hole.
Step 5: Install the Latch and Faceplate
Insert the latch into the borehole, making sure the bevelled side faces the direction in which the door closes. Secure it in place with screws provided in the lockset kit. Attach the faceplate over the latch, align it with the edge of the door, and secure it with screws.
Step 6: Insert the Exterior and Interior Lock Components
Slide the exterior side of the lockset into the borehole from the outside, aligning it with the latch. Secure it in place with screws. On the interior side, align the components as per the manufacturer’s instructions and secure them with screws. Verify that the latch operates smoothly.
Step 7: Install the Strike Plate
Position the strike plate on the door jamb, ensuring it aligns with the latch. Mark the screw hole locations and secure the strike plate with screws. Test the lock to ensure it engages with the strike plate seamlessly.
Step 8: Test and Adjust
Thoroughly test the lock to ensure it functions correctly. Check that the door opens and closes smoothly and that the lock engages and disengages without resistance. Make any necessary components or strike plate adjustments to ensure optimal performance.
Step 9: Install Additional Security Features
If your new lockset includes additional security features, such as a deadbolt, follow the manufacturer’s instructions to install them correctly. Deadbolts are an excellent addition to enhance security, especially for exterior doors.
Step 10: Seek Professional Assistance if Needed
If you encounter challenges during installation or are uncertain about any step, consider seeking professional assistance. Proper installation is vital for the lock’s effectiveness, and professional locksmiths in Epping can ensure that everything is correctly aligned and functioning.
Conclusion
Installing new house door locks is a proactive step toward fortifying the security of your home. By following this step-by-step guide and paying attention to details, you can confidently install new locks, providing your home with the safety and protection it deserves. A well-installed lock enhances security and offers peace of mind, allowing you to create a secure and comfortable living environment for yourself and your loved ones.

